Setup Your Pinterest Account (if you haven’t already)
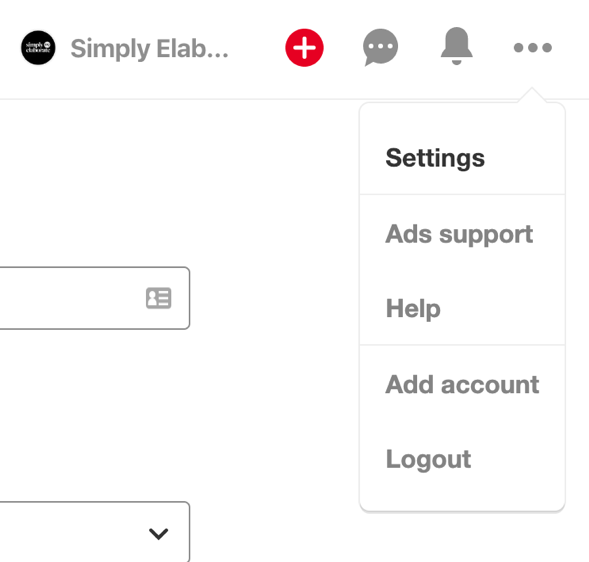
First, once you’re signed into Pinterest, please travel to your Settings option by selecting the triple-dot of the menu bar.
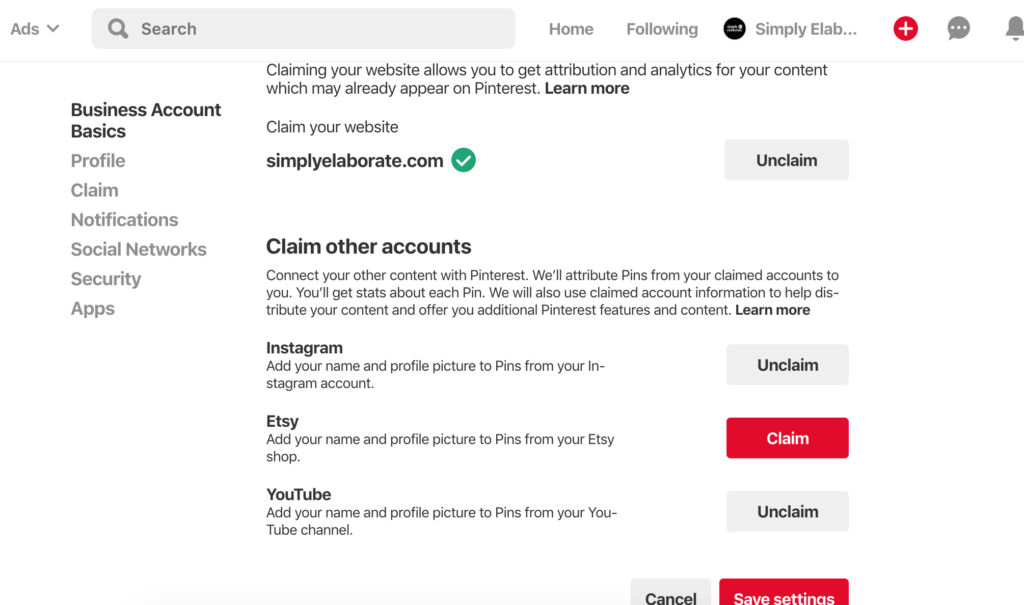
After you’ve done this, on the left hand side, click on the Claim menu item. When you’ve done this, you’ll be able to claim your website by selecting the red button.
Get Your Pinterest’s Code for Your Website’s Header
In the diagram below, I’ve already claimed my website, so it shows up. But once you do, you’ll be given a code to insert into your website’s header tags.
They’ll spit out a piece of code that looks like this: (note the numbers will be different):
<meta name=”p:domain_verify” content=”9626b4f4dcad1257sjsjap85e0c0b896f”/> into the <head>
Pinterest will ask you to insert it into the header section of your site’s index.html file, but because you’re on WordPress, you won’t exactly have this file available to you.
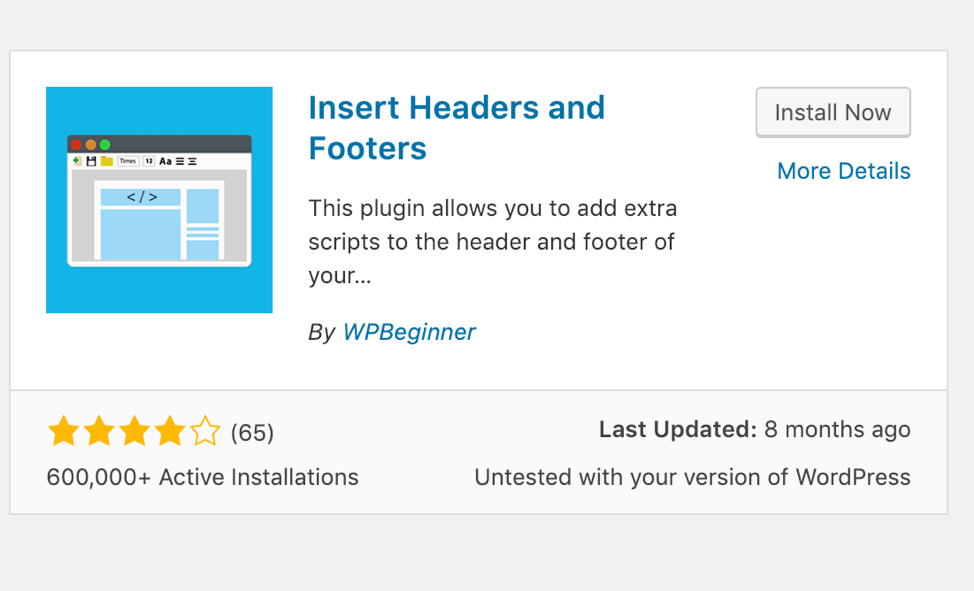
Download a Plugin to Insert Header and Footers
You can easily insert the code with this plugin called Insert Headers and Footers. You can download it from the link above, or search for the plugin directly from your Plugin Directory (when you’re logged into your WordPress site).
After you’ve downloaded, installed and activated the Insert Headers and Footers plugin, click this link that shows up on your dashboard menu links (under the main Settings tab):
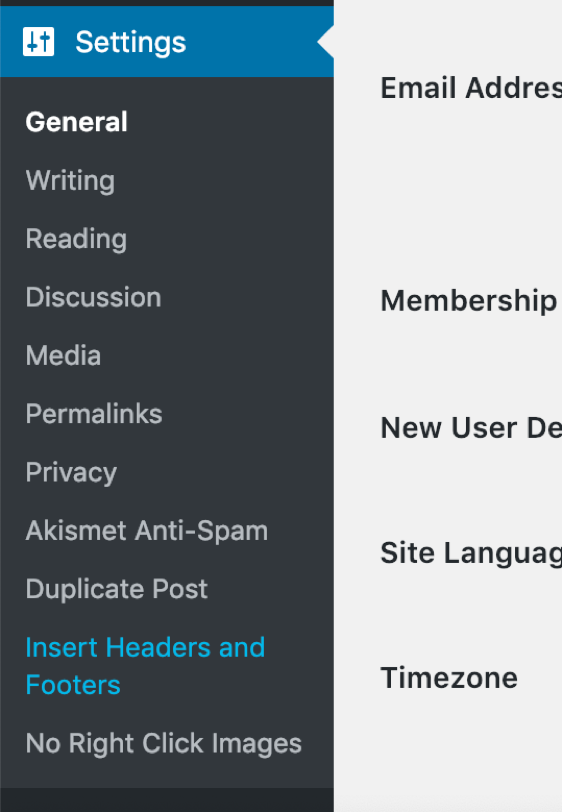
In the Script in Header, paste the code you received from Pinterest.
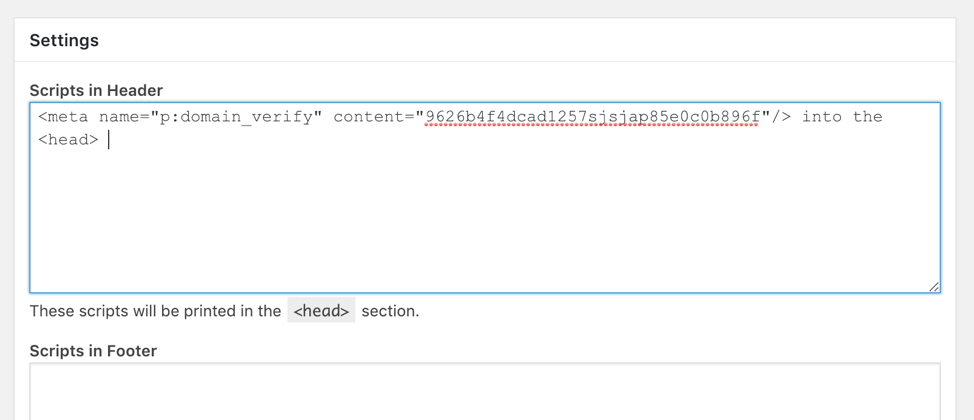
Press save and voila – you should be good to go.
Head on back to Pinterest and press refresh. Sometimes it’ll take some time for the results to push through, but Pinterest should be able to see the connection pretty soon, and your website should be claimed!