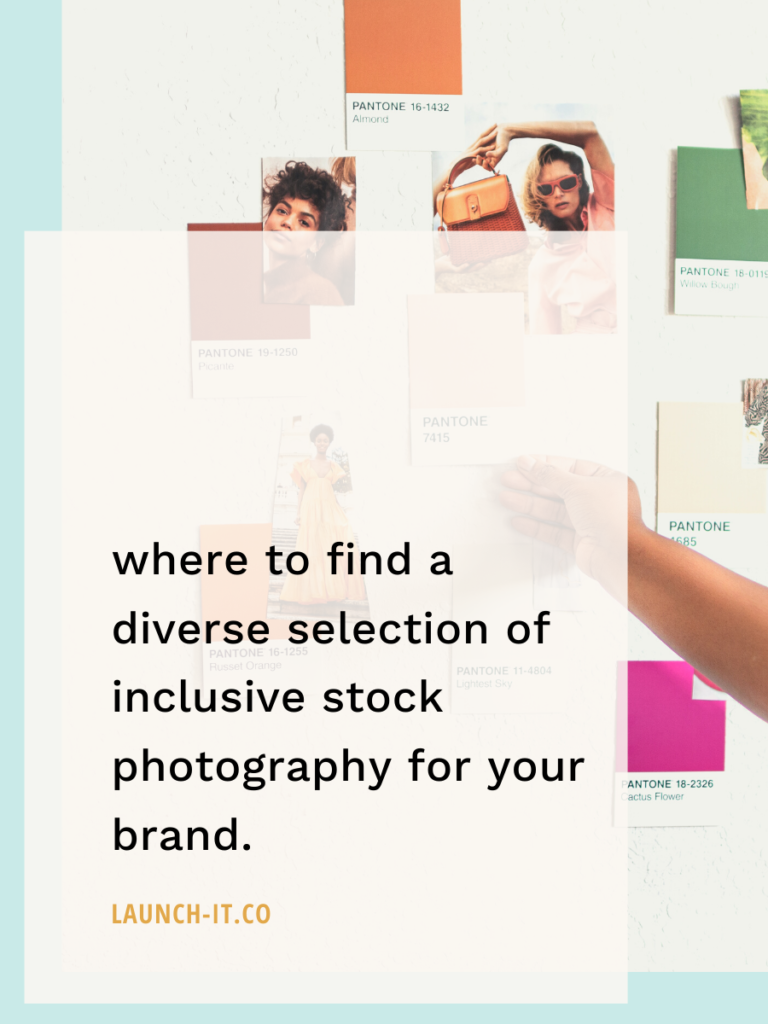
Over the last few weeks, you may or may not have been noticing representation a bit differently on the websites you visit, Instagram feeds you follow, or shows you’ve been binging on Netflix.
In the WP Website Academy course, and with our 1:1 clients, photography is a huge part of how we help make your website stand out from the crowd. Not only that, but the right photography really helps to evoke certain feelings, emotions and inspiration when your potential client lands on your homepage.
I’ve been around for what seems like forever, and creating websites within the industry for people helping people (in any facet) and finding the right photography can be daunting or exhilarating – depending on your mood I guess.
Over the last month, I’ve been taking a long hard look at the companies we partner with for selected recommendations (aka I want to do the vetting for you) to ensure everything is up to date and what I perceive to be an excellent value, quality and relevant for the clients we partner with and the students who join the academy.
So I’ve updated our preferred vendors list to be cognizant of the following:
- BIPOC female-owned ✊🏽✊🏾✊🏿
- Extensive selections of BIPOC and LGTBQ bodies depicting various emotions/scenarios 👭🏾 👬🏻
- Laptop + Desktop mockups in office and co-working settings 💻
- Lifestyle based flat-lays and styles 🌿 🥒
- Searchable by color, themes and various palettes and scenarios ⛱️
In the past, I’ve been told providing too many options can be overwhelming, and it’s been requested I just provide ONE company that I recommend and go with it.
While I understand the logic behind that request, in reality, it’s not possible that only one company, one recommendation, one suggestion will be suitable for all people who are looking for images to use on their website and overall branding in general.
We’re all unique, so let’s make sure we’re representing in our work.
I’m sharing my quick 2-step optimization process for any images you use throughout your branding and website. And THAT means they look crisper to your visitors and more searchable to Google – double win!
We’ll start with the must-haves (gotta love those must-haves!)
RULE #1:
Make sure you’re legally allowed to use the images on your website.
If you don’t have your own photography to use, use high quality stock photography from reputable sources, so you don’t run into copyright issues!
Check out some of my fave subscription photo websites …
TOP CHOICES FOR SUBSCRIPTIONS
Styled Stock Photography by Elle Drouin. With both a membership and shop for feminine stock photography, you can snag access to over 2500 images (more added weekly), tutorials on how to use the images, Canva templates, Instagram graphics, stock video clips, content planning worksheets and other resources – this membership definitely has added value to the bunch. Elle also has multiple contributors so you’re getting access to a variety of different eyes when using the photos.
Christina Jones Photo by Christina Jones. These lifestyle stock images promote diversity, work/lifestyle, collaboration and celebration. Each image is created with an editorial edit, to inspire you to share your brand story with ease! Perfect for: web designers, copywriters, brand strategists, brand photographers, bloggers, memberships and digital communities.
Haute Stock by Rachel Rouhana. With over 2500 images, new added monthly and social media graphics to customize, it’s a great option for those looking for everything. Best feature of this subscription are her easy-to-use filters.
Create Her Stock by Neosha Gardner. A grassroots resource and digital “pantry” for stock imagery that can be used for lifestyle, business, and everyday content creation for bloggers, creatives, and growing influencers. Perfect if you’re not interested in searching through thousands of images and want direct and straight to the point options.
TOP CHOICES FOR ONE-OFF PURCHASES
Eye for Ebony by LaShonda Brown. This business focuses on elevating models, creatives and businesses. Thier goal is to create images that are VIBRANT, DIVERSE and TRUE TO LIFE, imagery that embraces similarities and celebrate differences. Models of all shades, shapes, and sizes. Eye-catching lifestyle stock photos with people of color living their best lives.
SC Stockshop by Shay Cochrane. Easy to search by color palette and scene, this stock shop was one of the first available in the industry, providing “brand packs” available in certain price points for a limited time. Since, all photography is now well-priced, and more traditionally what you’d see to make your feed professional-yet-inviting.
iStockphoto is a great option if you’re looking for access to millions of options with a variety of styles, at a low cost. They have a new pricing system for the “Essentials” allowing for your choice of downloads per month which creates a sliding scale for payment options.
FREE OPTIONS
You can also use these royalty-free stock photography websites, but remember you’ll see repeats across the web:
ILLUSTRATIONS
Need some illustrations to describe your offerings? Recently discovered, this fantastic project called UnDraw offering open-source illustrations for any idea you can imagine and create. A constantly updated design project with beautiful SVG images that you can use completely free and without attribution.
RULE #2:
Name your images properly to optimize them for the web.
Your image names should accurately describe what you’re writing about (if it’s for a blog) or what services you offer.
Do not – I repeat DO NOT – leave your image title the image you got from your camera upload or downloaded from one of those image sites above or elsewhere (like IMG_4758.jpg).
Sorry I had to use my new mommy voice on you there…
But next time you search anything on Google, click the “images” tab. Google shows you images that are relevant based on your keywords. This is why you don’t want to skip this super simple step!

Make sure you’re uploading images to your site with relevant keywords if you want to give your SEO a little extra oomph. (Woman-Sitting-On-Couch-With-Apple-Watch.jpg is a pretty descriptive option, right?)
Step 1: Use the Alt-Tag when naming your images.
Alt-Tag is another must for optimizing your images for your website. They’re a text alternative for your images when/if your browser somehow can’t display your images.
It’s also another way to boost your SEO because of the keyword feature. But the keywords can’t be spammy, because Google is a smartypants. It knows.
Step 2: Reduce/Optimize your image files for the web.
File Format: Choose JPEG to keep the quality, but reduce your file size. The only time you don’t use JPEG is for decorative website images that require a transparent background or moving object (like your logo). These can be saved as PNGs.
Optimization Options: Make sure RGB is selected if it’s an option.
IMG Dimensions: This is the actual sizing of your image. Adjust if necessary.
Quality: You can choose the percentage of quality required for your image. This affects your Expected File Size and you can play around with viewing your proposed saved file against your original file.
My top free resources for editing images on the web:
Did you find this post valuable? Would love if you shared it so others may also be able to find suitable images for their brands, too.


Great post, thanks for doing the legwork and providing options, and for providing more socially-conscious options. It’s really helpful having the explanations of each, to make selecting a source easier. I’m passing this article over to my husband who is creating content about “Instagram for fitness professionals.” Thanks!
Thanks Ashley! And I hope Colin finds it useful, too! 🙂